Importing Data into FINPACK+ Credit Analysis Files
New data, from an external FINPACK Credit Analysis file can be imported into your institution’s FINPACK+ Credit Analysis file for a customer. This feature allows you to add information, like a balance sheet or cash flow projection, into existing Credit Analysis file, without overwriting the remaining contents of the file. An example of when to use this feature is a lender wanting to import a Detailed Balance Sheet already completed by an outside consultant or the customer. By importing the data, the lender adds this information automatically to their Credit Analysis file. The balance sheet data, in this example, does not need to be re-keyed and all of the existing information in the customer’s file will remain intact. The historical reports for the customer will not be changed, like Presentations, Collateral Analysis, Risk Reports, etc.
Importing data into a FINPACK+ Credit Analysis file is different than uploading an existing Credit Analysis file for the customer. The Import feature is used to bring pieces of information into your established Credit Analysis file for a customer. Uploading an existing Credit Analysis file is used when first creating a Credit Analysis file in FINPACK+. Here all of the data from the existing FINPACK file is uploaded into FINPACK+.
Check Out File
To import data into a particular Credit Analysis file, first Check Out this File in FINPACK+. The information that follows assumes you have checked the Credit Analysis file out in a browser. If checking the file out to a local device, use the information provided in this whitepaper about working with an installed version of FINPACK.
The import process uses the Working Folder in FINPACK+. You will see ‘View Working Folder’ as a selection option at the top of your checked out Credit Analysis file.
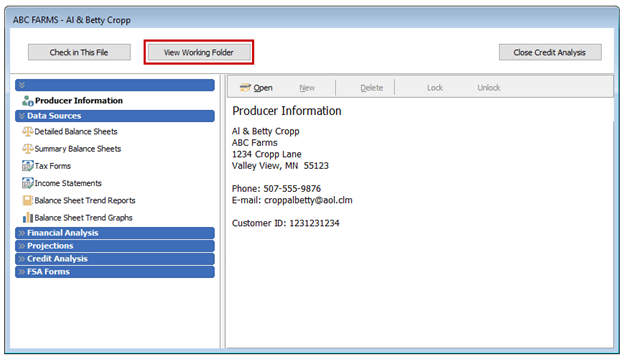
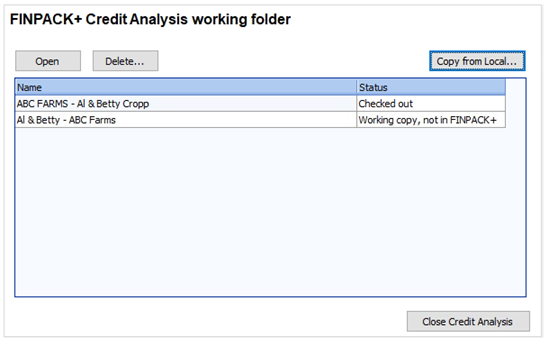
The data import process begins with the Working Folder. The Working Folder shows the FINPACK+ Credit Analysis files checked out to you. You can also Copy from Local… to access an FINPACK data file outside of your system. Click View Working Folder to see the files currently checked out to you and add a local file.
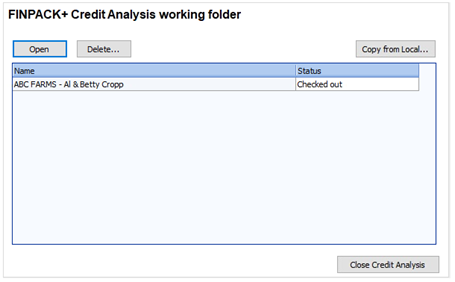
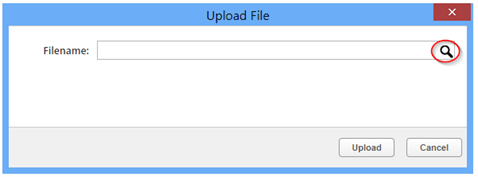
Next, click Copy from Local… to upload a file to your Working Folder. In the dialog box, use the magnifying glass icon to select the file from your machine.
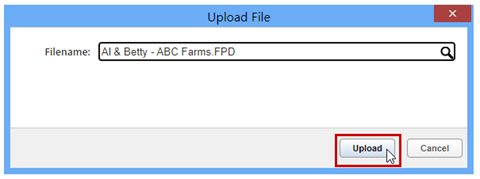
Once the file has been selected from your local machine, click Upload.
This brings the local file into your Working Folder. The status will be listed as, “Working copy, not in FINPACK+”. In this example, there are now two files displayed in the Working Folder.
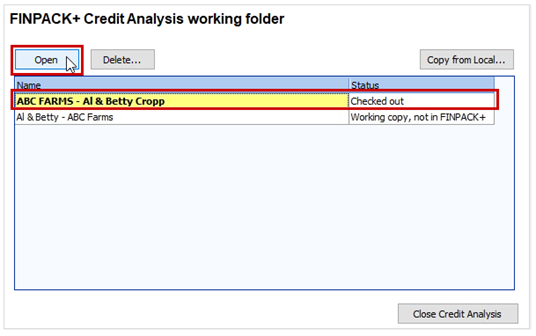
Navigate back to the FINPACK+ Credit Analysis file by highlighting it in the Working Folder and clicking Open above. This action will relaunch the Credit Analysis file in your browser tab.
Importing Data
In the FINPACK+ Credit Analysis file use File + Import to bring the desired FINPACK data in from another source.

The Import process is completed through the dialogue box that opens. Follow these steps to import the desired data.
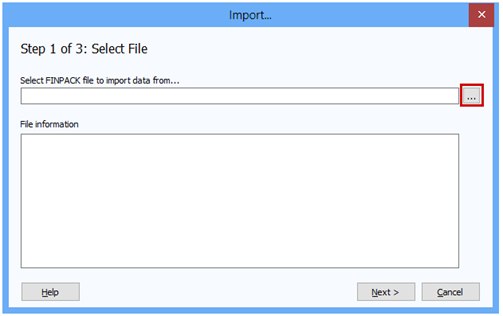
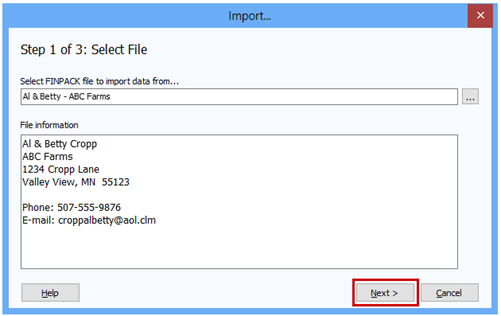
Step 1: Select File. Browse for the file to import data from using the … icon.
This will launch your Working Folder. Select the Credit Analysis file from the list to import data from. Then click OK.
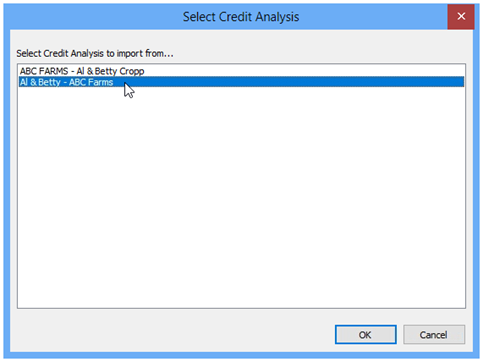
The customer information is now displayed in the Import dialogue box. Click Next to continue to Step 2.
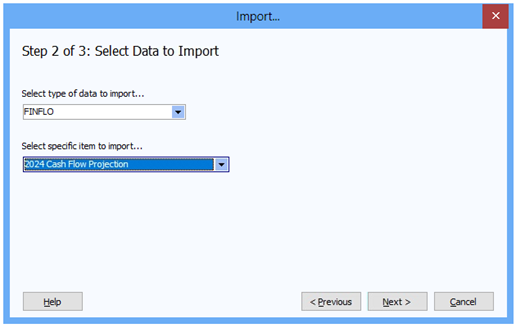
Step 2: Select Data to Import. First, select the Type of data to import… Then select the Specific Item to import. After selecting what you’d like to import, click Next to continue.
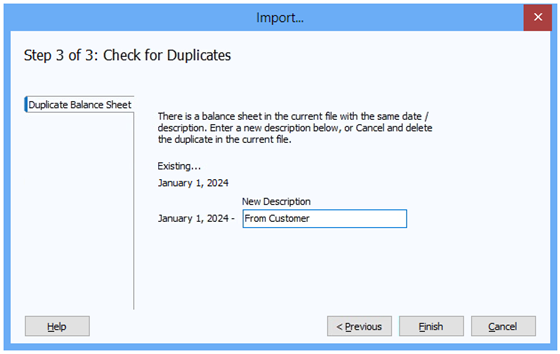
Step 3: Check for Duplicates: Lastly, FINPACK will check for duplicate names and/or Balance Sheet dates prior to importing the new data. If any exist, adjustments must be made.
For example, when importing a Monthly Cash Flow Projection with Budgets (FINFLO), the assigned Detailed Balance Sheet and set of Crop & Livestock Budgets for that FINFLO are also imported. If any Detailed Balance Sheet dates or any descriptions are the same in the source file as in the destination file, naming changes will need to be made so the imported data is unique. It is best to enter a more unique description than the default.
On the left are tabs for the duplicate data items. For a Detailed Balance Sheet, change or add a description, since the date cannot be changed. By default, duplicate descriptions will include a (2),
indicating this is the duplicate item to be imported. This (2) can remain, or the description can be changed. In the example below, the description has been changed from (2) to “From Customer”.
When duplicates have been resolved, click Finish to complete the import.
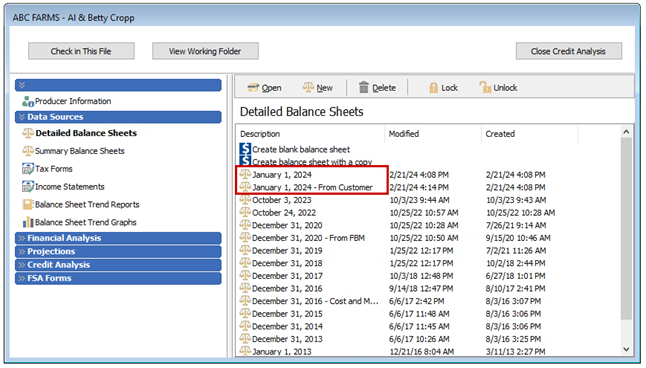
When viewing the available Detailed Balance Sheets in the Credit Analysis file, after finishing the import, the January 1, 2024 – From Customer Balance Sheet is listed along with the Jan. 1, 2024 Balance Sheet originally in the customer’s Credit Analysis file.
NOTE: When importing a statement that includes other FINPACK components, the components used by that statement will also be imported. For example, when importing a Monthly Cash Flow Projections with Budgets (FINFLO), the Detailed Balance Sheet, and Crop & Livestock Budgets tied to the FINFLO are also necessary to import and this will happen automatically. This holds true for any Financial Analysis, Projection, or Credit Analysis information imported into the particular FINPACK Credit Analysis file.
Therefore, it is a best practice to import the statement that includes multiple components, and do not individually import all components. For example, when a FINFLO is imported, the related Detailed Balance Sheet is also automatically imported. If the Detailed Balance Sheet were imported first, a Duplicate Name situation occurs. Even once this is rectified, the file will now have multiple copies of the same Detailed Balance Sheet. Therefore, start with the final item to be imported, don’t start with the Data Source information.